Showing posts with label Flowering Flourishes. Show all posts

Monday, 12 October 2015

Septembers Classes

September heralded the start of my classes at Frampton on Severn village Hall. As the classes at Frampton are at the beginning of the month and the ones at Selsley are at the end of the month, I will be repeating the designs at the two classes. Therefore I will only be updating this page at the end of the month.


Our first card was suitable for a wedding or could be adapted for an anniversary or engagment. It used the stamp set For The New Two and just two colours of Whisper White and Tip Top Taupe.  It also used the technique of heat emossing onto velum with Whisper White Embossing Powder which looked quite effective. A piece of Tip Top Taupe 1" Dotted Lace Trim set off the design.
The second card was suitable to all ages and genders to celebrate a birthday.  It used the stamp sets Gorgeous Grunge and Build a Birthday with just two colours, So Saffron and Lost Lagoon.  I really like this set as it is quite versatile and the Little Numbers Thinlets are perfect for adding the 'age' if required.
Our 3D project this month was a gable-end bag. This was one of the first 3D projects I made at a class (thanks Kerry Timms) and think it is such a quick and easy bag to make - and so did the ladies at my classes.  Again this design only uses two complimentary colours, Wisteria Wonder and Perfect Plum with Very Vanilla as the card base.  The two stamp sets used were Merry Everything ( for the tag) and Flowering Flourishes with the butterflies punched out using the Elegant Butterfly and Bitty Butterfly punches.  The Venetian Crochet Trim finshes off the design.


Tuesday, 28 April 2015

Spring Card Making Workshop

Here are a few photos of the projects that we made at my recent Spring Card Making Workshop. The card designs were based around the Brights Background DSP and the idea was to create 6 cards for different occasions.  A box was also made to store the cards in.

 This is a fun card suitable for any gender, any age! Who can reisit a flying owl?? The colours used were Real Red, Daffodil Delight and Tempting Turquiose with a Chocolate Chip owl.  The greeting came from Sassy Salutations.

This bright card suitable for a birthday, get well or just to say 'hello' uses Basic Black, Daffodil Delight, Real Red and Pear Pizzazz.  The stamp sets used were Crazy About You, Petit Petals and Your Perfrect Day.
This bow-tie card, made using the fabulous Bow Builder Punch is suitable for any male; and all sorts of colours could be used form the Brights collection. Here the three colours used were Pacific Point, Daffodil Delight and Old Olive.  The stamp set used was Birthday Surprise.
A simple, cute card suitable for any gender baby was made using Daffodil Delight, Bermuda Bay and Baked Brown Sugar,  and the Baby We've Grown stamp set.
A wedding card this time using Rich Razzleberry and Blushing Bride colours with the Your Perfect Day stamp set.
And finally another floral card suitable for any occasion, using Pumpkin Pie, Old Olive and Daffodil Delight (this is such a versatile colour) with Flower Shop and Label Love stamp sets.
A basic card holder was made using Crumb Cake card stock, Melon Mambo DSP and Flowering Flourishes stamp set.
I have already been asked to book a date for a Christmas workshop, with will be on Sunday 11th October at Frampton on Severn Village Hall so if you would be interested then please let me know.


Wednesday, 26 November 2014

Thankful for the End of the Year??

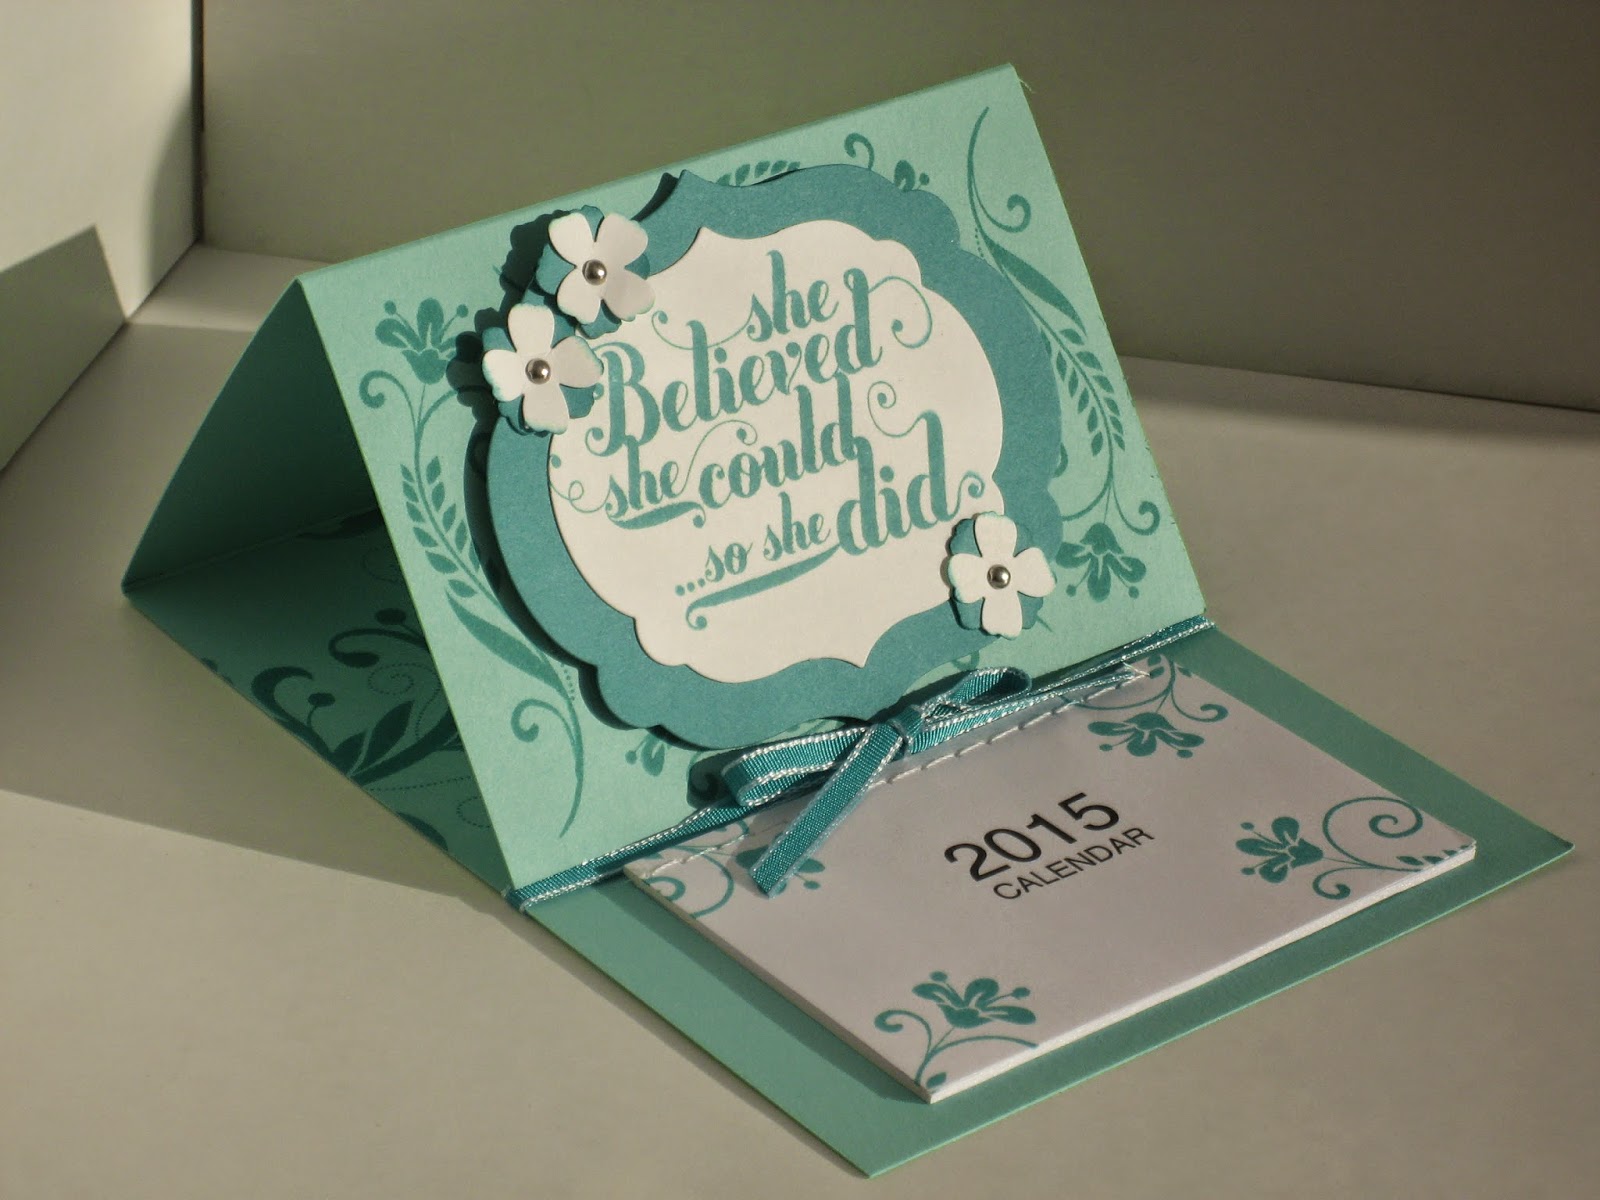
For Decembers class we made two Thank You cards in anticipation of the Christmas presents we hope to receive; plus a small gift suitable for a teacher or fellow work colleague, a desk calendar.

The first card was made using a new technique I have been longing to try out, and was quite happy with the result; watercoloring using aqua painters.  (I found the idea from a fellow demo, Lisa Curcio on Pinterest). First we stamped the Watercolor Thank You stamp in Jet Black StazOn ink onto some Stampin Up! watercolor paper and brushed on Rich Razzleberry, Coastal Cabana and Daffodil ink across it using aqua painters (we did need to use a heat gun to dry the paper during class time) to give an almost rainbow effect.  We also did the same on a small piece of watercolor paper and cut out using the Bitty Butterfly punch.  The main cardstock colours are Basic Black, Rich Razzleberry and Coastal Cabana.


The second card was based on a design I made my up-line's demonstrators training.  I didn't have the same stamp sets as were used at the class so improvised using Four You, Gorgeous Grunge and Papillon Potpourri stamp sets and used Pear Pizzazz, Marina Mist and Crumb Cake cardstock and inks.


For our 3D project, we copied the design of a very simple desk calendar that I had received as a swap at a recent regional demonstrator training (thank you Victoria McLafferty).  We used the Flowering Flourishes stamp set to decorate the card and calendar pad and the Feel Goods stamp set for the sentiment in Bermuda Bay ink on Coastal Cabana cardstock.  As an alternative, my crafters could omit the sentiment and add some more flowers from the Flowering Flourishes stamp set and add a butterfly from the Papillon Potpourri stamp set.  To finish off the design, we added some punched flowers using the Itty Bitty Accents Punch Pack using Bermuda Bay and Whisper White cardstock.  To make the easel effect of the card stay up, we used a piece of 1/8"th Bermuda Bay Taffeta ribbon.